自分は、Mac派で開発でもプライベートでもMacを使用していますが、稀にWindowsが必要な時があったりします。つい先日、そんな日が来てしまいました。
ということで今回は、Macユーザー向けに簡単に破棄と復元が可能なWindowsの仮想環境を構築する方法を紹介しようと思います。
MacでWindowsを使用する方法は、Microsoftが公式に提供している、Modern. IE と呼ばれていたブラウザテスト用のものが無償で入手することはできますが、ライセンスが90日で切れてしまうので、正規のWindows OSを使用する方法を取りたいと思います。
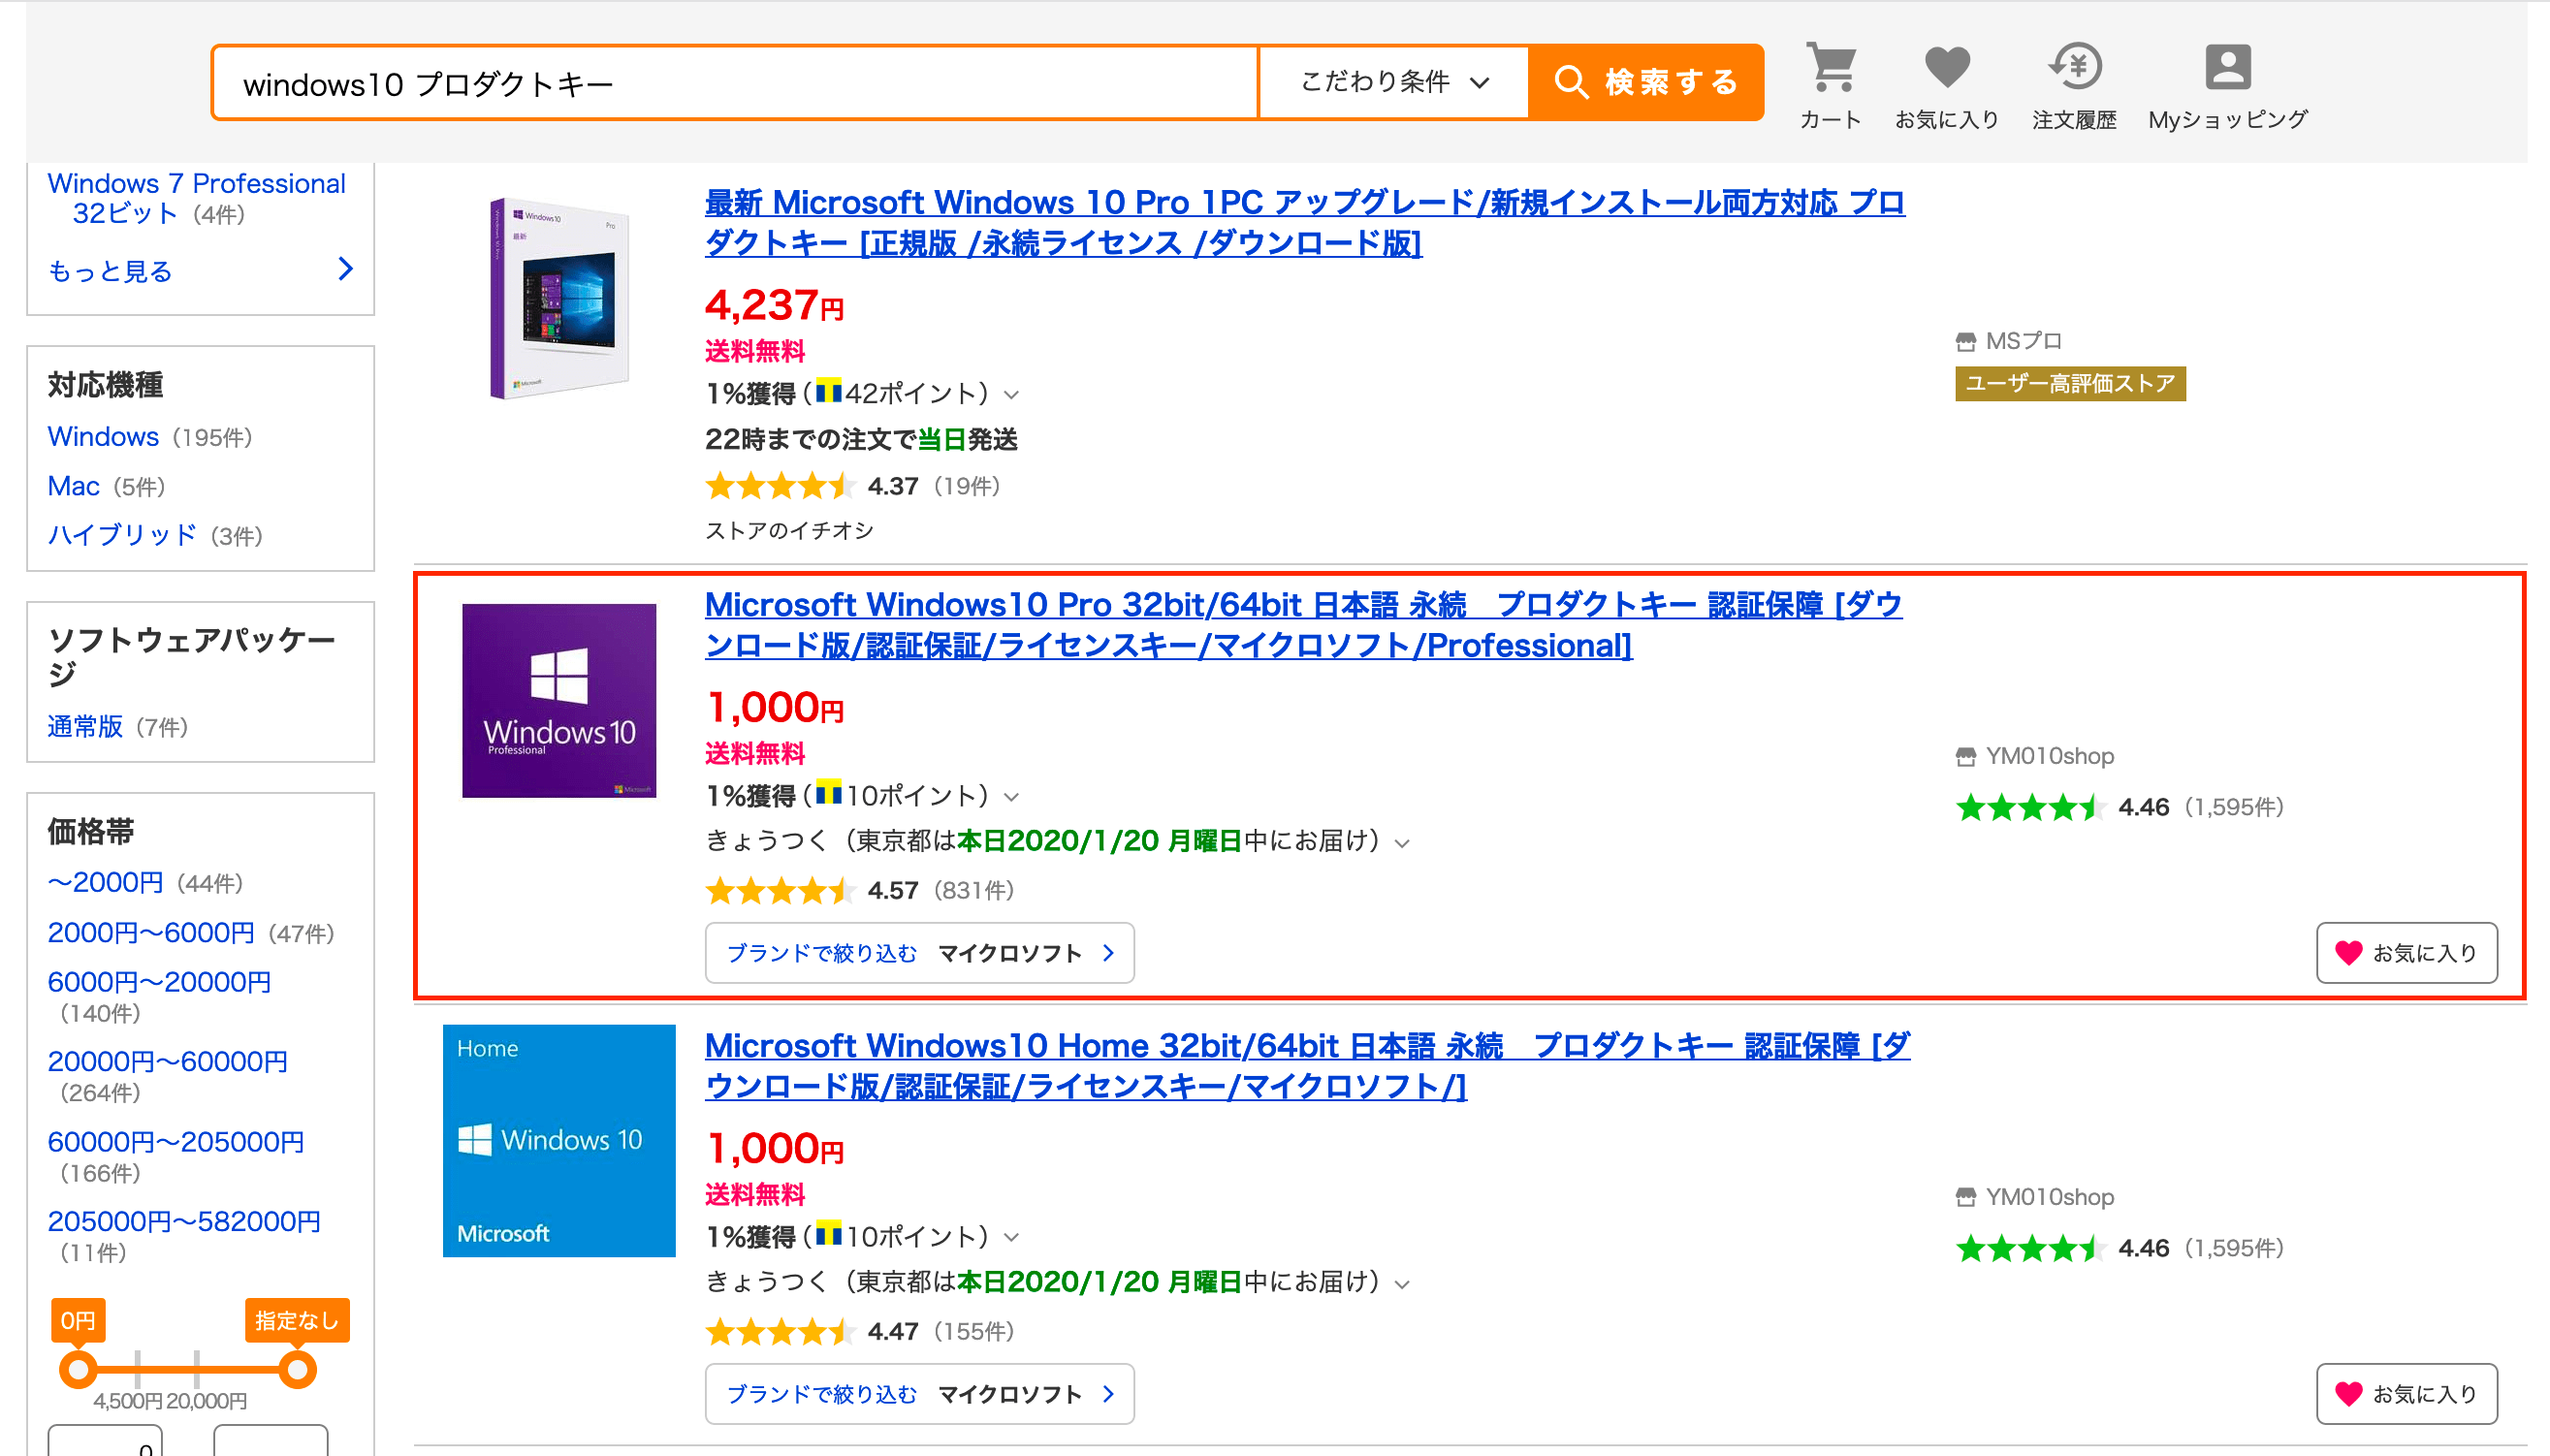
Windows 10のプロダクトキーは、ヤフーショッピングなどで¥1,000くらいで入手できますが、正規品ではありますが、おそらくボリュームライセンスの切り売りかと思いますので、不安な方は、Microsoftから正規のルートでプロダクトキーを購入して使用してください。
今回は、一時的な仮想環境のためなので、ヤフーショッピングにて¥1,000で販売されているWindows10のプロダクトキーを使用してみました。
商品説明を見てみると、1回しか認証できないとか書いてありますが、Vagrantを使用するので、一度認証してしまえば、boxファイルを無くさない限りは、クリーンな状態に戻したとしてもライセンス認証を聞かれることはないので、あまり問題ありません。
↓こちらです。
VirtualBox と Vagrant を用意する

MacでWindowsを起動させる方法は、VM WareやBootcampなど、いくつかありますが、環境の破棄と復元が容易なVagrantを使用したいと思います。
それぞれのサイトより、
Vagrant
Download - Vagrant by HashiCorp
VirtualBox
Downloads – Oracle VM VirtualBox
なぜVagrantを使用するのか?
なぜVirtualBoxだけでなくVagrantを併用するかというと、Vagrantは、仮想環境を整備するラッパーツールで、面倒な設定などを1つのファイルで管理できるという点と、クライアントが変わったり、要件が変わった場合などに対応する場合にインストール後のクリーンな状態に以下のコマンド2つだけで、戻すことができます。
vagrant destroy
vagrant up
ちなみに初期設定をすべて終えたWindowsOSのVirtualBoxのファイルサイズは、20GBほどでしたが、Vagrantが必要な箇所だけをVirtualBoxから抽出してBoxを作成するためか、VagrantのBoxサイズは、10GB程度でした。
MicrosoftからWindows10のisoをダウンロードする
Windows 10 のディスク イメージ (ISO ファイル) のダウンロード
どこにダウンロードしても良いですが、自分の場合は、USB 3.0の外付けSSDの中にvagrantディレクトリを作成しているので、そこにwindows10用のディレクトリを作成して、そこにダウンロードしました。
ダウンロードしたisoを使用してVirtualBoxにWindows10をインストールする。
VirtualBoxを起動させ、メニューの 仮想マシン→新規 でWindows10 64bitの仮想マシンを追加します。仮想マシンを新規追加したら起動します。
起動すると、isoのイメージファイルの場所を聞かれるので、先ほどダウンロードしたファイルパスを入力してインストールを進めます。 通常のWindowsのインストール作業と同じなので、1時間程度はかかります。
インストールが完了したら、初期設定を行う。
初期設定が開始されると、マイクロソフトアカウントでのログインを促す画面が出ますが、マイクロソフトアカウントでセットアップしてしまうと、vagrant経由での操作ができなくなるので、ローカルアカウントでセットアップを行います。 ここで設定したユーザー名とパスワードは、後ほど使用しますので、控えておいてください。
また、最低限必要なアプリケーションなどをインストールしておきます。これをしておくと、仮想環境を破棄して復元した後も、そのアプリケーションは、インストールされた状態になっています。
VirtualBox Guest Additionsのインストール
クリップボードの共有やホストマシン間の共有フォルダ機能を使用可能にするため、VirtualBox Guest Additionsをインストールします。
VirtualBoxのメニュー 「Devices→Insert Guest Additions Image 」を選択するとInsert Guest Additionsが仮想マシンの光学ドライブへセットされます。 あとは、通常のWindowsアプリケーションと同様にインストール作業を行えばOKです。
WinRMの有効化
Vagrantから操作可能にするために、WinRMの有効化を行い、設定を変更しておきます。
コマンドプロンプトを管理者権限で起動して、以下のコマンドを入力します。
winrm quickconfig -q
winrm set winrm/config/service @{AllowUnencrypted=“true”}
winrm set winrm/config/service/auth @{Basic=“true”}
sc config WinRM start= auto
Vagrantのボックスを作成する
仮想マシンの初期設定が完了したら、いよいよvagrantのboxを作成します。 VirtualBoxのマシン名は、該当の名前に置き換えてください。VirtualBoxの仮想マシンの設定を開くとマシン名をコピーすることができます。
vagrant package —base VirtualBoxのマシン名※ マシン名にスペースが入っている場合は、バックスラッシュでエスケープさせてください。
例)
vagrant package —base Windows10\ Proコマンドを実行すると、仮想マシンより必要ファイルの抽出が行われ、vagrantのboxが作成されます。
これも、そこそこ時間がかかるので、辛抱強く待ってください。20〜30分程度はかかるかと思います。問題なくコマンドが終了するとpackage.boxがディレクトリ内にできています。
出来上がったboxをvagrantに追加する
package.boxができたら、次は、vagrantに追加します。
vagrant box add windows10 package.box以下のようなメッセージが出力されれば、コマンドが正常に終了しています。

Vagrantfileを作成する。
Vagrantは、デフォルトでは、SSHで仮想マシンと通信を行いますが、今回は、WinRMを使用するように設定しています。
WinRMを使用したサンプルのVagrantfileを掲載しておきます。 普通に使用してもらえるかと思いますが、いくつか設定を状況に応じて適宜変更してください。
Windowsをインストール時に設定したユーザー名とパスワードにそれぞれ、置き換えてください。
config.winrm.username = “username
config.winrm.password = “password”
仮想マシン側で使用するポートですが、デフォルトが以下になりますが、「使用済み」などのエラーが出る場合は、適宜変更してください。
config.vm.network "forwarded_port", guest: 80, host: 8080ホストマシンと仮想マシン間の共有フォルダの設定です。使用状況に合わせて適宜変更してください。
config.vm.synced_folder "./share", "/vagrant_data"Vagrantfile サンプル
# -*- mode: ruby -*-
# vi: set ft=ruby :

# All Vagrant configuration is done below. The "2" in Vagrant.configure
# configures the configuration version (we support older styles for
# backwards compatibility). Please don't change it unless you know what
# you're doing.
Vagrant.configure("2") do |config|

  #Setting for windows
  config.vm.boot_timeout = 600
  config.vm.guest = :windows
  config.vm.communicator = :winrm
  config.winrm.username = “username”
  config.winrm.password = “password”

  # The most common configuration options are documented and commented below.
  # For a complete reference, please see the online documentation at
  # https://docs.vagrantup.com.

  # Every Vagrant development environment requires a box. You can search for
  # boxes at https://vagrantcloud.com/search.
  config.vm.box = "windows10"

  # Disable automatic box update checking. If you disable this, then
  # boxes will only be checked for updates when the user runs
  # `vagrant box outdated`. This is not recommended.
  # config.vm.box_check_update = false

  # Create a forwarded port mapping which allows access to a specific port
  # within the machine from a port on the host machine. In the example below,
  # accessing "localhost:8080" will access port 80 on the guest machine.
  # NOTE: This will enable public access to the opened port
  config.vm.network "forwarded_port", guest: 80, host: 8080

  # Create a forwarded port mapping which allows access to a specific port
  # within the machine from a port on the host machine and only allow access
  # via 127.0.0.1 to disable public access
  # config.vm.network "forwarded_port", guest: 80, host: 8080, host_ip: "127.0.0.1"

  # Create a private network, which allows host-only access to the machine
  # using a specific IP.
  # config.vm.network "private_network", ip: "192.168.33.10"

  # Create a public network, which generally matched to bridged network.
  # Bridged networks make the machine appear as another physical device on
  # your network.
  config.vm.network "public_network"

  #Setting for windows
  config.vm.network :forwarded_port, guest: 3389, host: 13389
  config.vm.network :forwarded_port, guest: 5985, host: 15985, id: "winrm", auto_correct: true

  # Share an additional folder to the guest VM. The first argument is
  # the path on the host to the actual folder. The second argument is
  # the path on the guest to mount the folder. And the optional third
  # argument is a set of non-required options.
  config.vm.synced_folder "./share", "/vagrant_data"

  # Provider-specific configuration so you can fine-tune various
  # backing providers for Vagrant. These expose provider-specific options.
  # Example for VirtualBox:
  #
  config.vm.provider "virtualbox" do |vb|
    # Display the VirtualBox GUI when booting the machine
    vb.gui = true

    # Customize the amount of memory on the VM:
    vb.memory = "4096"
  end
  #
  # View the documentation for the provider you are using for more
  # information on available options.

  # Enable provisioning with a shell script. Additional provisioners such as
  # Puppet, Chef, Ansible, Salt, and Docker are also available. Please see the
  # documentation for more information about their specific syntax and use.
  # config.vm.provision "shell", inline: <<-SHELL
  #   apt-get update
  #   apt-get install -y apache2
  # SHELL
end
起動してみる!
Vagrant boxの作成が完了し、Vagrantfileの作成も完了したら、仮想マシンをVagrantで起動してみます。
ターミナルでVagrantfileを保存したディレクトリに移動して、コマンドを実行します。
vagrant up 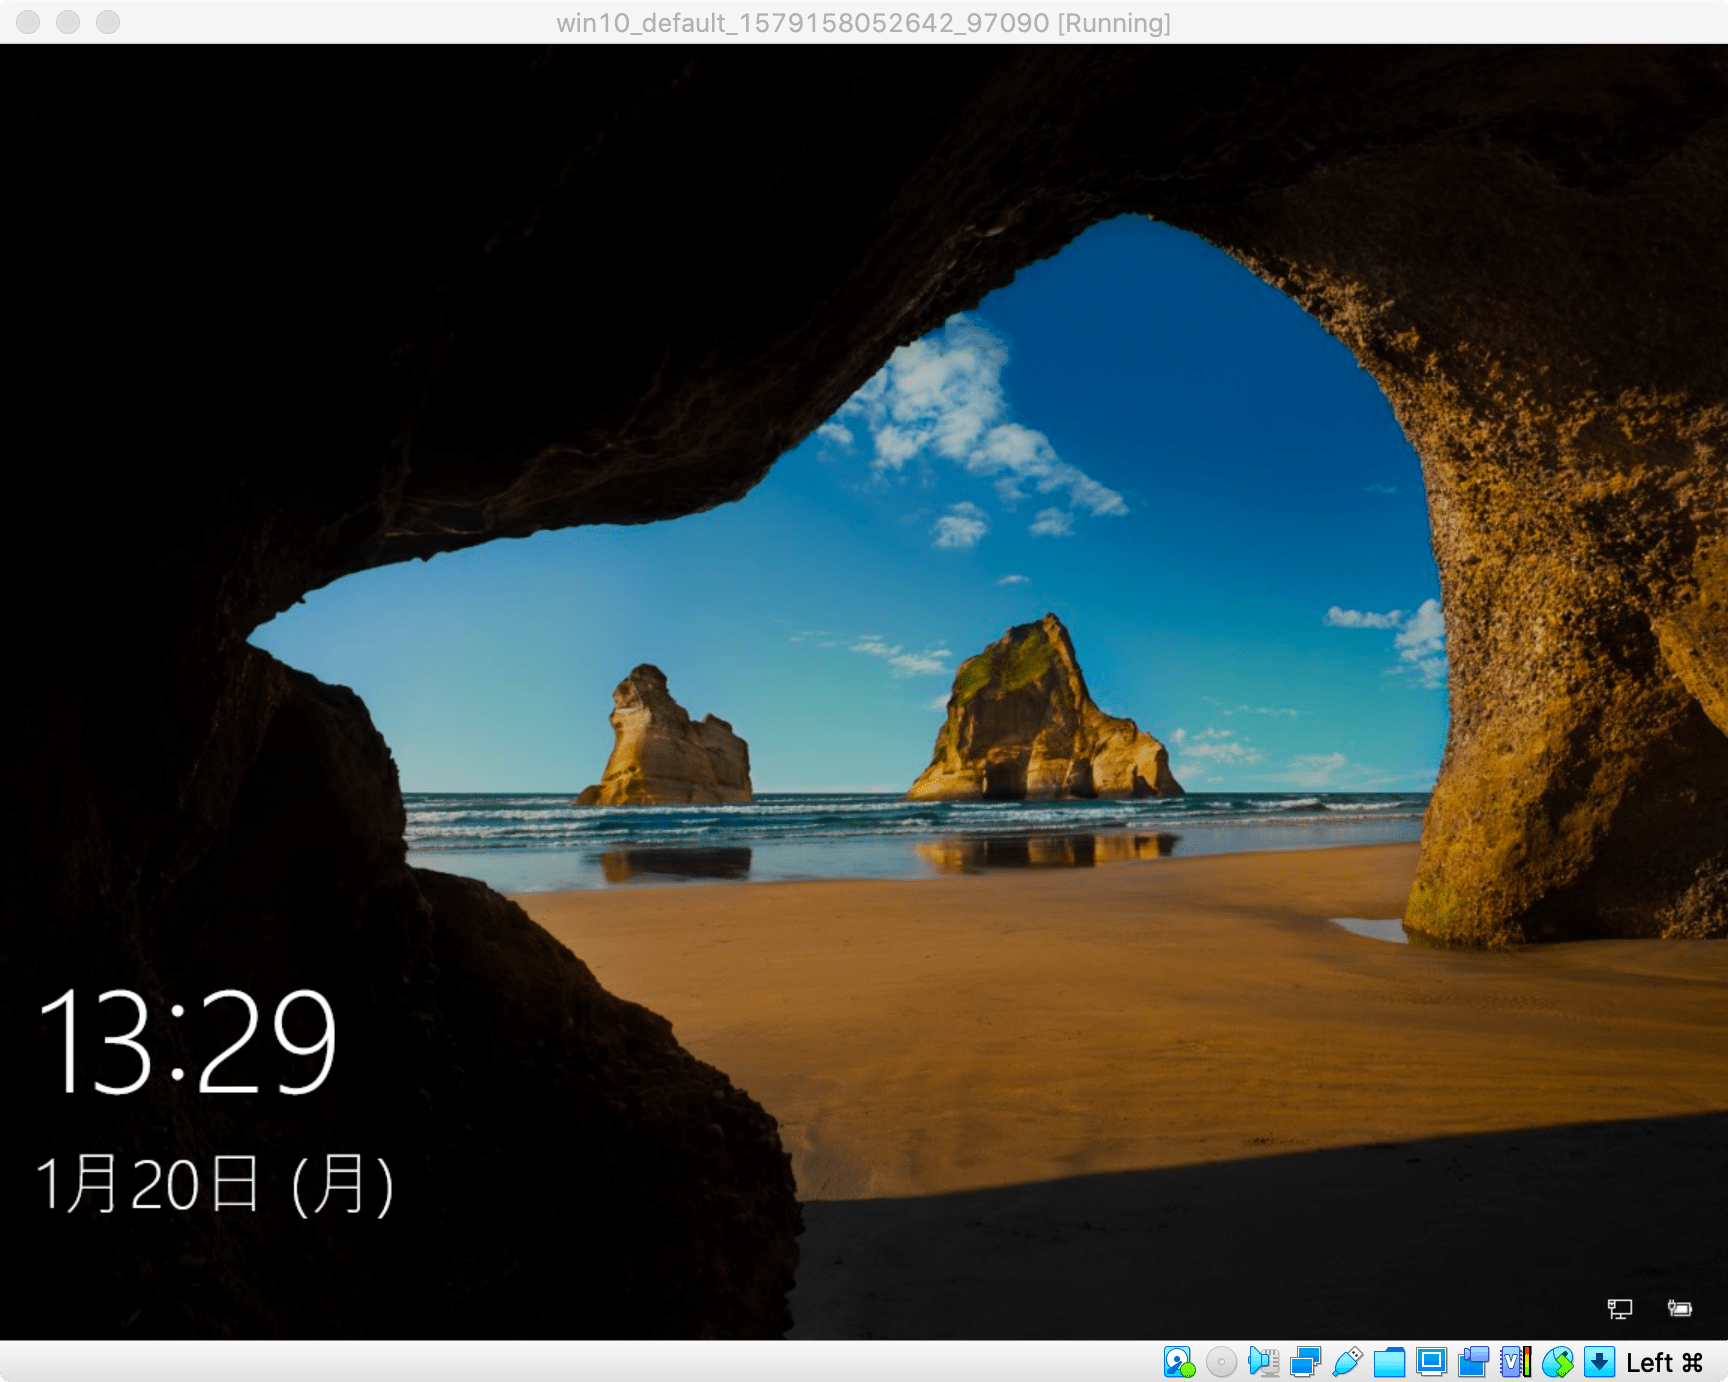
問題なく設定ができていれば、Windows10が起動されるかと思います。
Windowsを終了する場合は、Windowsメニューから終了することもできますが、 Vagrantのコマンドで終了、仮想環境の破棄など、すべて実行することができます。
終了
vagrant halt 仮想マシンの破棄
vagrant destroy 仮想マシンを破棄したあと、再度必要になった場合は、vagrant upすれば、いつでもWindows10を起動させることができます。